Film is a really fun medium to use. It has nostalgic emotion attached to it and the feeling of taking you back in time. Its grainy images, dark contrast, and smooth highlights place you in another place years in the past. For some photographers, it is the essence of true photography. For many others, it’s an unheard-of thing to use.
“Film is dead.”
“It’s a thing of the past.”
“Why spend money on film when you just have a digital camera?”
“Film is a waste of money.”
“Film is outdated.”
These are all things I’ve heard from people close to me and not so close to me when they find out I still incorporate film into my business. I didn’t always have film, but 2021 saw a shift in my photography, and moving forward, I’d like to keep it that way.

Let’s start off with this — Why Film?
Film is the embodiment of an era gone by. The original photographers’ used film. Now it’s a commodity being used by photographers wanting to grasp that eternal essence in their photos once again. The best of the best-used film in their time, so why can’t we use it now in ours?
I think also, film is a unique medium. It can be scanned in so many different ways. Choosing how you scan and edit your film is all about your photographic identity. No one else can photograph and scan the film like you. No one can imitate that. It’s a raw fundamentality of the original creators. Using film to capture fleeting moments.

Photographers, in an era of digital and instant gratification, all use film for different reasons. Some only shoot on film. Some are hybrids, and some filter in some film for fun.
So, focus on why YOU want to photograph with film. Why do I use film? I use film because it’s fun. Waiting to see what your finalized images will look like. It’s the anticipation. Taking a moment to craft an image a little more carefully before you release the shutter button. Shooting on film is not like digital. You can’t rep off hundreds of photos in seconds. It’s about the intentionality behind it. Taking my time. Thinking. It also is reminiscent of a time gone by. I remember flipping through polaroids my parents took when I was a child. Those first images of photography stick with me to this day.

Using film in your business
So, how do you start incorporating film into your business if you’re interested? First off, buy yourself a film camera. Whether it’s a 35mm like the Canon AE-1, or a medium format (120 film) like the Pentax 645 or 645nii, find a film camera to use. If your grandparents have an old film camera lying around, take it to a camera place to make sure it’s working before starting there!
Secondly, I suggest buying some general film. Portra 400 or Extar Gold 100 are my favorite film stocks to use. Fuji 400H is discontinued — sadly — but there are still some amazing film stocks out there. If you love saturated colors, go with Superia 100. I even suggest experimenting around with Ilford’s black and white film to really get a feel for the nostalgia that film offers when you’re photographing with it.
Now that you’ve acquired film and a film camera, where do you go from here? I suggest downloading an app on your phone to help you with light metering. I use Light Meter. It’s free and it is perfect! I shot my first five rolls of 120 film on this and they developed beautifully in the lab. If you’re shooting on a point and shoot type film camera (probably 35) most of them have built-in light meters. Essentially, it’s just like the light meter in your digital camera. You’re just going to have to do a little bit more leg work in camera to get the exposures you want right the first time. Or you can purchase a hand held light meter. I use a Sekonic L-358. You can find one here. Once you know how to light meter and you’ve loaded your film, how do you incorporate it into your workflow?
I shoot with a double harness. My digital camera hangs on my right side (I’m right-handed) and my film camera hangs on my left. Having it within easy reach gives me the perfect way to incorporate it into my workflow. If I didn’t have it hanging on my neck, I would never reach for it as I’m pretty settled in how I photograph. Having it accessible is the first step. Make it easy to reach for it! I also have my light meter in my pocket, around my neck, or in my fanny pack. I also carry extra rolls of film in my fanny pack all day long so I’m not scrambling when I fill up a roll.

When photographing
When I photograph I keep extra rolls on me at all times. Because I shoot on a Pentax 645, I’m shooting on medium format film (120). That means I only get 16 images on a roll of film. Because I’m only getting 16 images, I go through film pretty quickly on a wedding day. I shoot on average 10 rolls of film a wedding, but I’m working on increasing that to around 20 a wedding. I also only shoot when I know I’m going to get the images I want on film. We have digital for a reason. Digital is incredible! So I’m not pulling my film camera out during the reception when I don’t have a flash and I know I’m going to have to handhold for an extraordinary amount of time. I’m pulling out my film camera when the sun is high and bright, or during golden hour. My favorite times to use my film camera are during getting ready pictures, capturing details when there is light, and during portraits right before the sun goes down. I pack my film camera away after bride and groom portraits and don’t pull it out again (unless the light is perfect during dances or the reception before it gets too dark).
I have also learned when to change film. Because I’m shooting on an older medium format film camera, my shutter sound is very loud. I’m not snapping photos during the ceremony when the bride’s grandmother in the front row can hear me snapping away during prayer. I use my digital for that. If they’re walking down the aisle and everyone is cheering? Sure, I’ll whip it out and snap that! I try and only use my film camera when it’s not distracting anyone or getting in the way of anything.
Editing to match film
You shoot your rolls of film, now what do you do? I send all of my film to TheFindLab to get developed. When I first started shooting film I sent it to a local film lab in Chambersburg, but they never developed it correctly. More often than not, I’d be throwing money out the window to black images. It was frustrating. There are a lot of labs out there to get your images developed at. First rule of thumb is to find a lab and develop a relationship with them. Once you send your photos there multiple times, they’ll start to know your style and develop your photos the same every time you send them. I use TheFindLab but many of my friends prefer to use PhotoVision. I know of others that use Goodman Film Lab and Richard Film Lab to name a few.
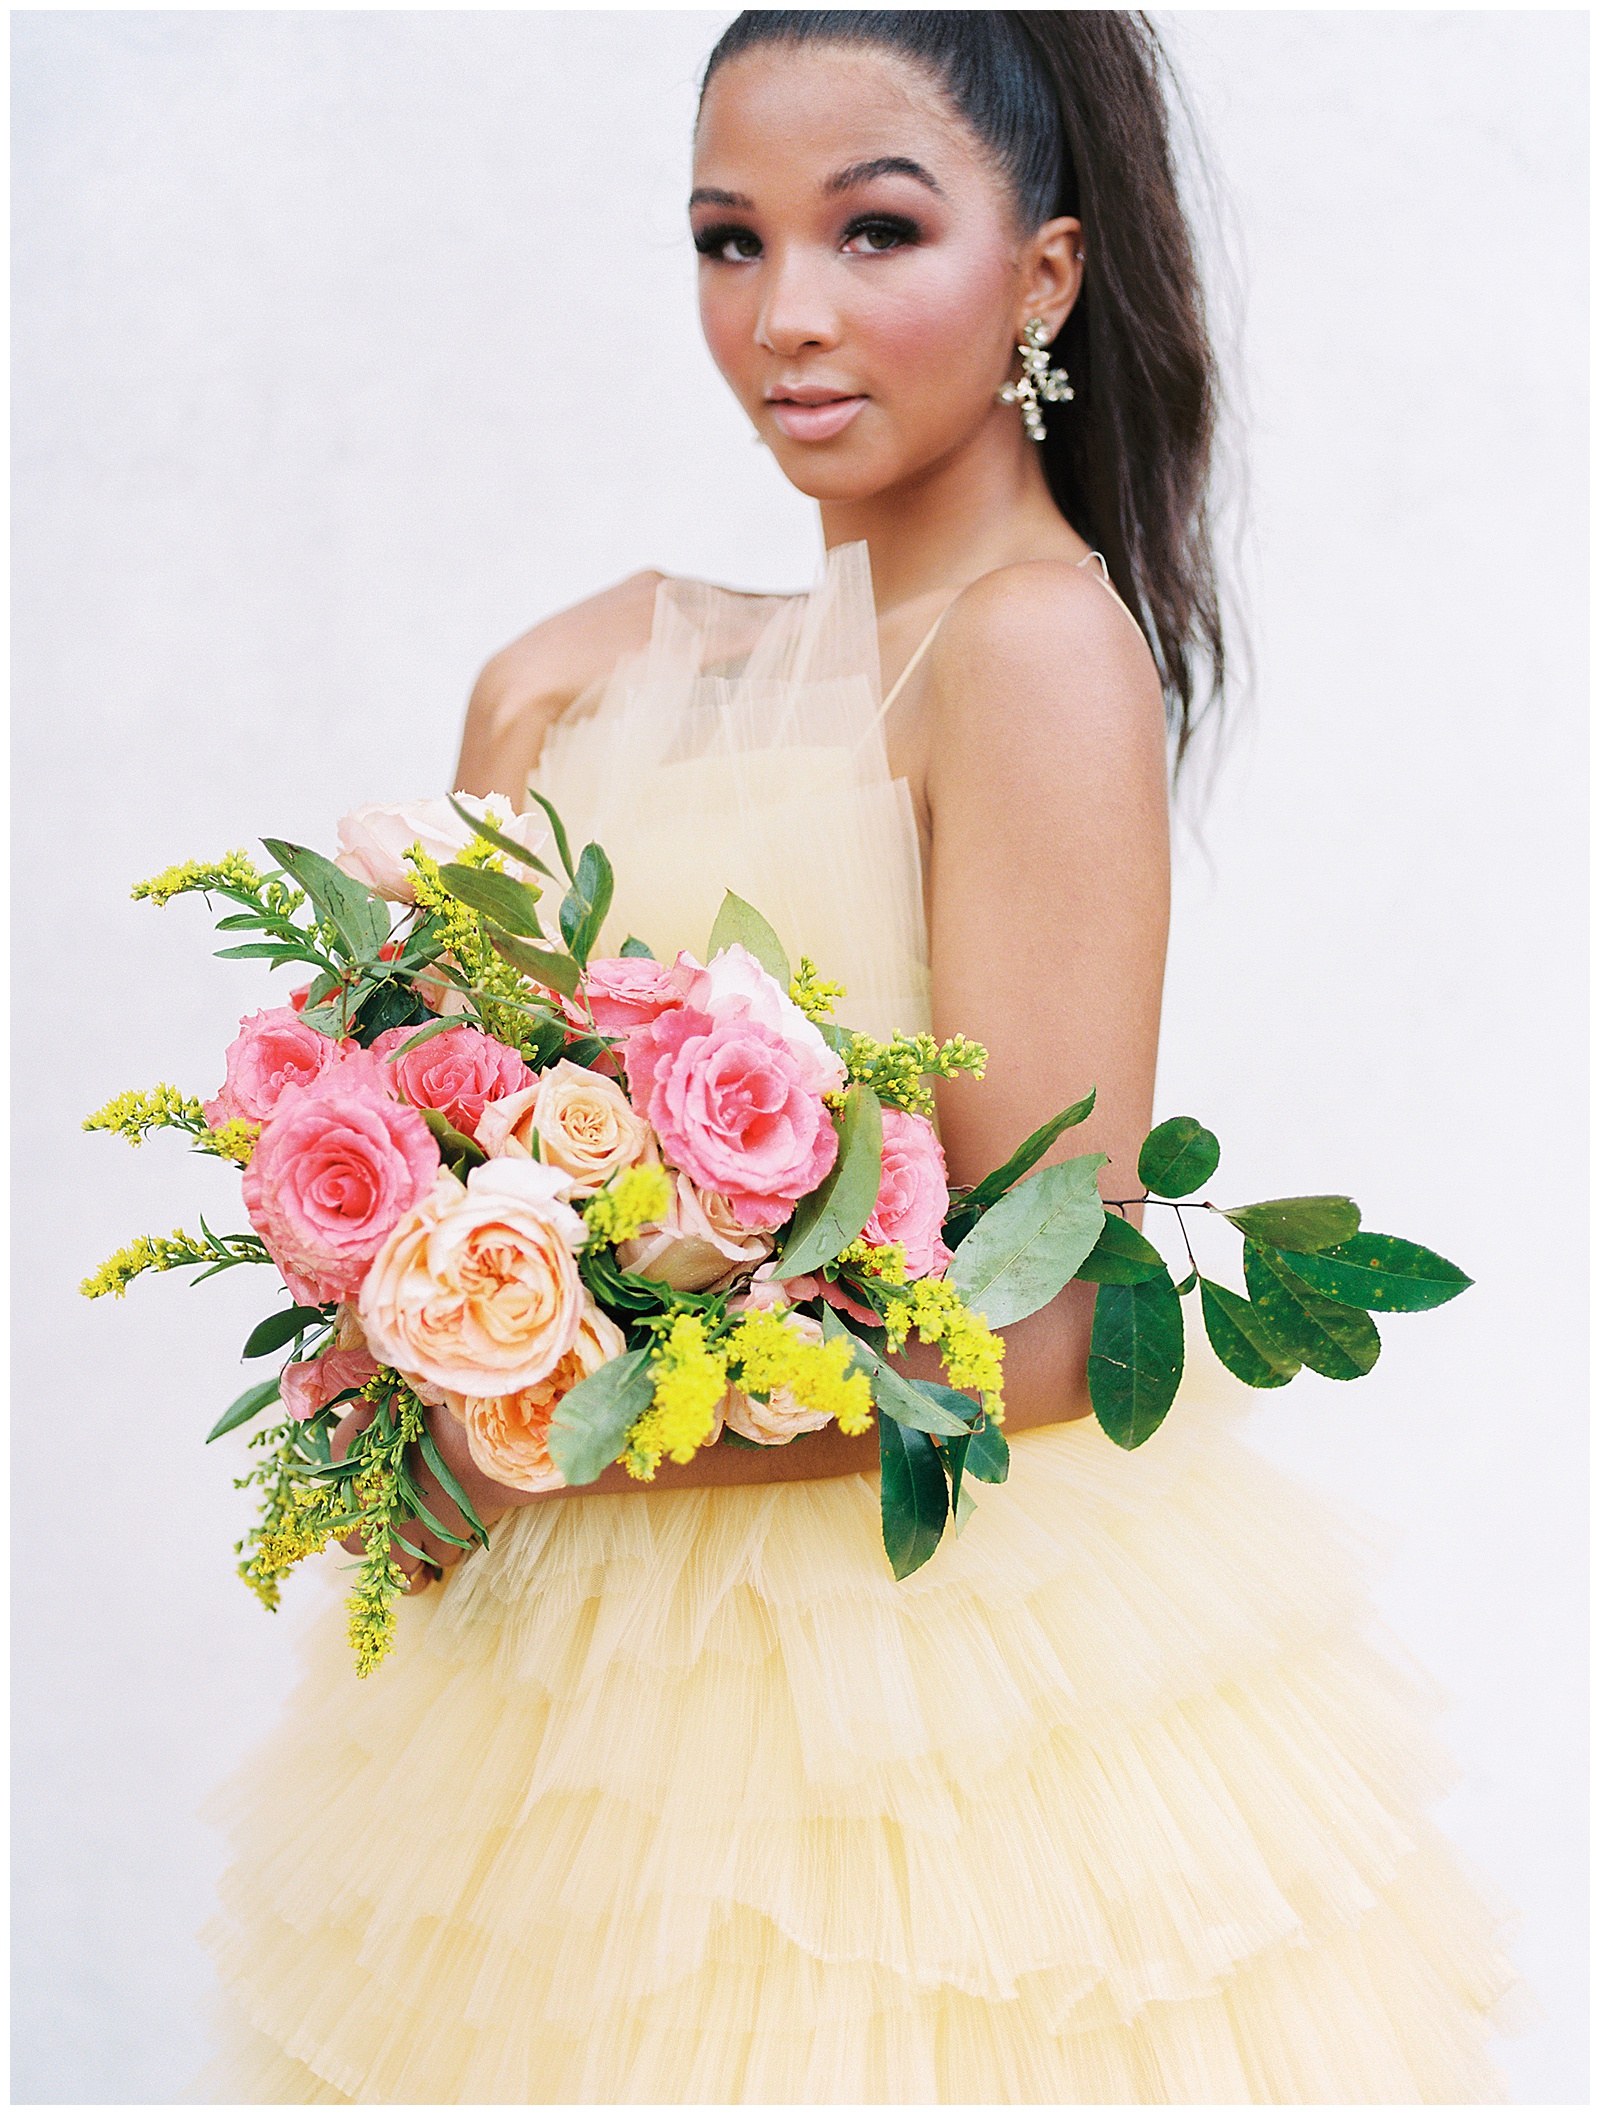
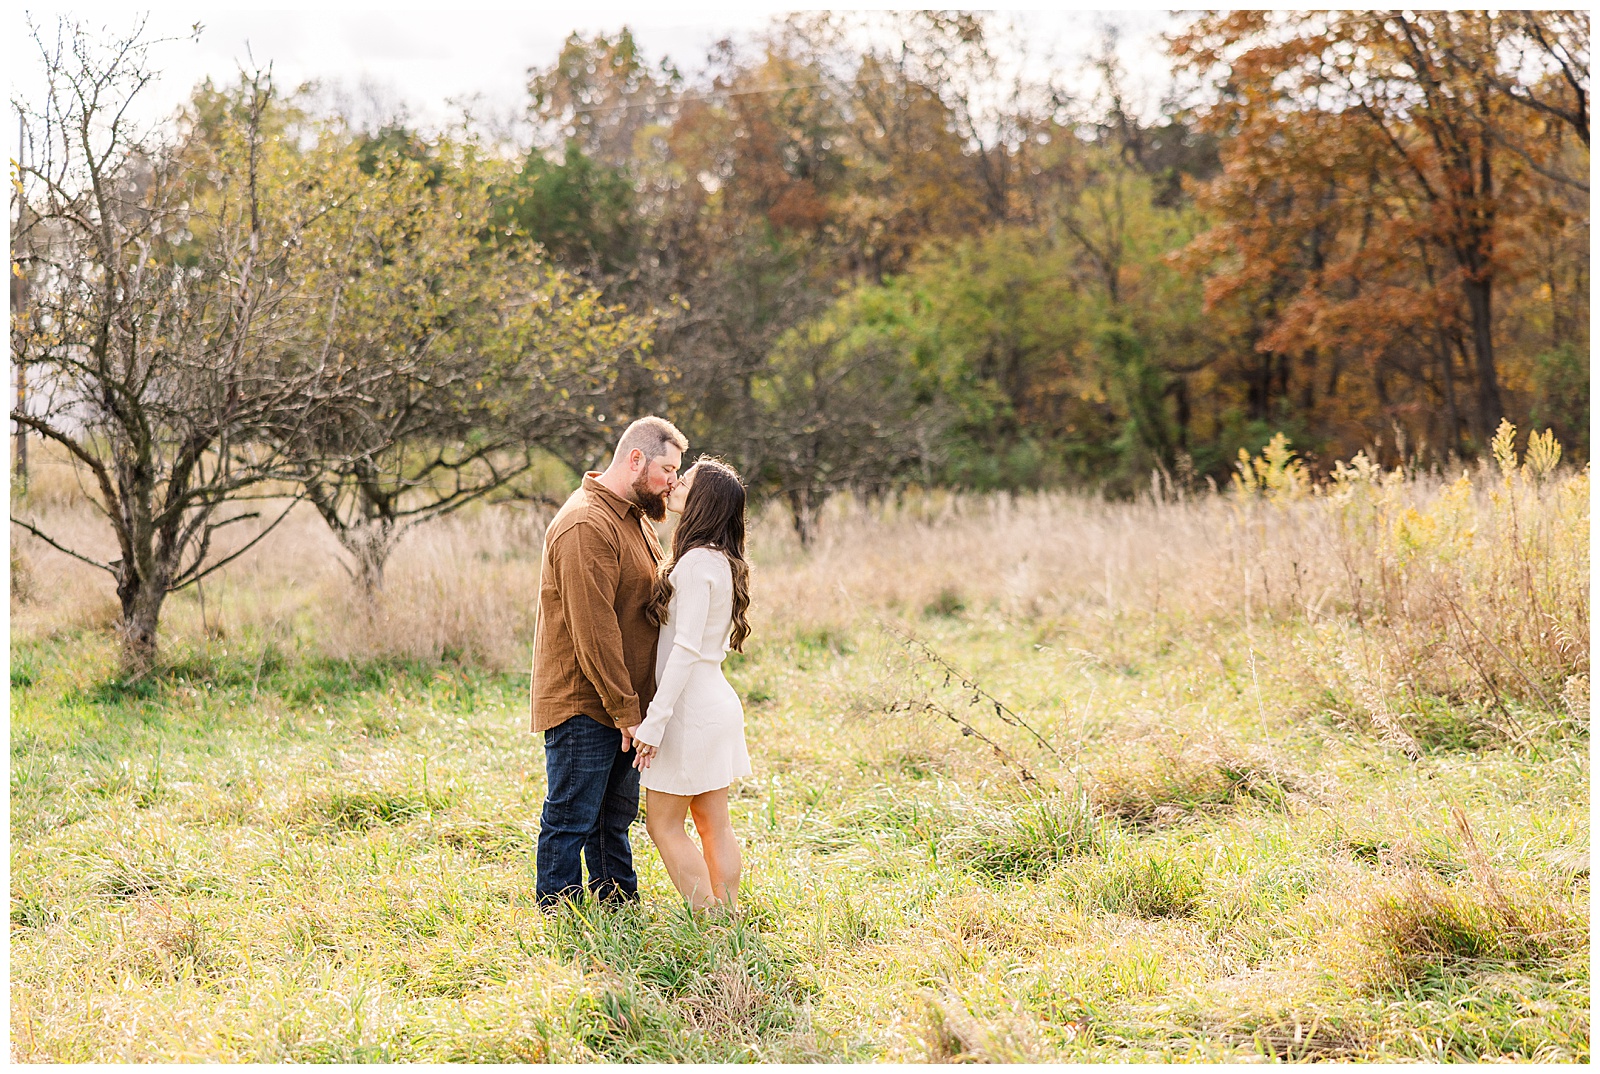
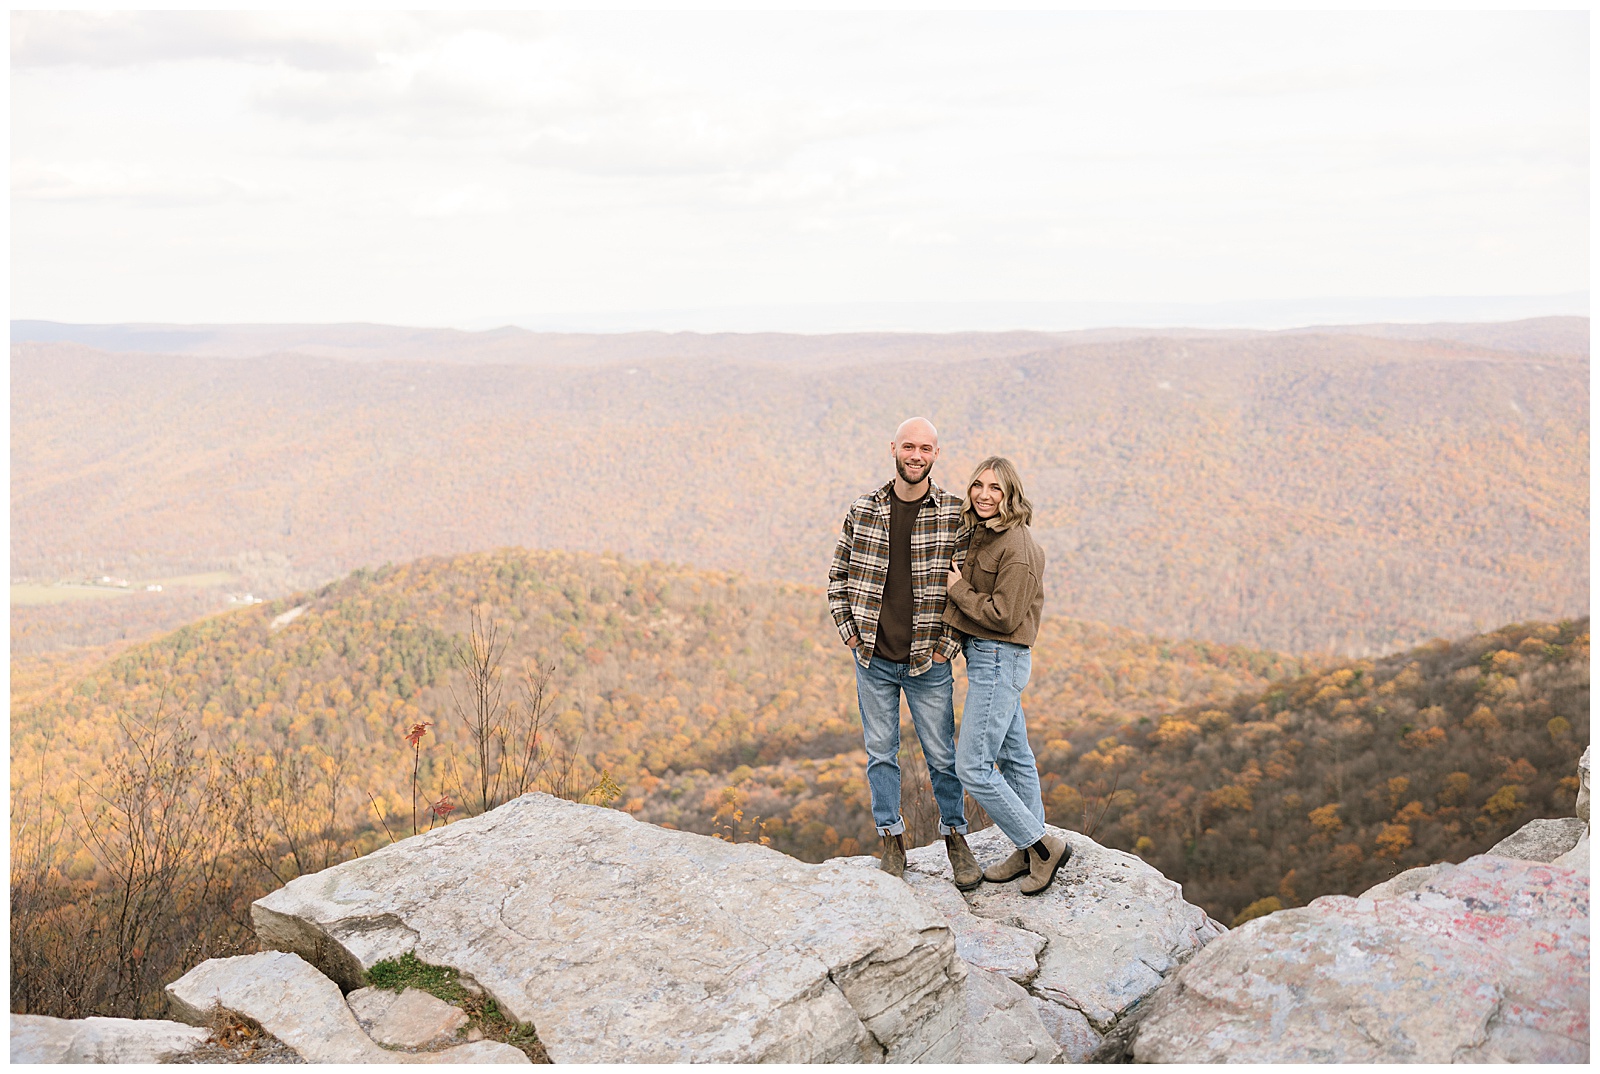
When you get your scans back the next step is editing. There are very specific film emulation presets out in the world designed to help you successfully match your digital images to film. I use The Archetype Process, and cannot recommend them enough. I’ve also used Goodlight Presets and they are a very close second. These are not your typical “preset” as they are profiles, but there are literally no other preset under the sun that comes as close as these do to matching your images. Other photographers I know love and use Mastin Labs, Noble Presets and Kindred Presets as well. In fact, you probably will not be able to tell which is film and which is digital from the images below. Can you guess?


The bottom is digital and the top is film! You would never have known that by just glancing at them though. That’s the key to editing — making your digital images seamless with your film ones.
So, if you are looking at adding film into your workflow, I really hope this blog post helped you! Comment below if you’ve ever used film, or if you are a film photographer yourself.

