Hey everyone! Today’s post I wanted to write about WHITE BALANCE. As a photographer, this is one of the things many of us struggle with when shooting! White balance affects everything in your image. It cam make the picture super orange, like an oompaloompa, or it can be suuper cool like we’re all frozen. The goal of perfect white balance is to get a happy medium in between! That’s where all these different modes come in handy.
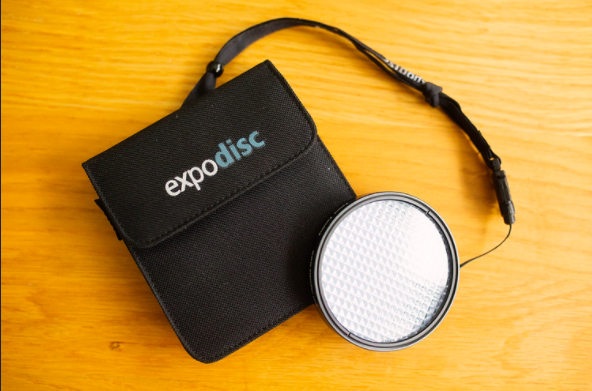
- Expodisk – This is what I use most often! It’s a round white honeycomb textured filter that goes over your lens. The goal of the expodisk is to capture the temperature of the light and give you an accurate meeter reading! Amy and Jordan Demos introduced this to me and now, it’s the only thing I shoot with!

- Kelvin – Before I started using an Expodisk, I shot Kelvin! Kelvin is a temperature scale that calculates the temperature of light by degrees. The scale goes from around 2000 Kelvin (super blue) to 7000 Kelvin (super orange or warm). Normal daylight is around 5200-5500 Degrees Kelvin on a normal sunny day. Deep shade can be up to around 6500 Degrees Kelvin and your indoor lamps (non-LED) are around 3200 Degrees Kelvin. It’s not difficult to learn the scale, and it is a super helpful way of gauging accurate light temperatures! This is especially helpful for photographing receptions!
- Auto – many many photographers, including myself when I started, photograph using Auto. This can be a great way to start when you just can’t grasp light temperature, or sometimes, just need to take a quick shot and don’t have the time to think through lighting! Sometimes I do switch to auto if I don’t have my expodisk handy, however, Auto sometimes desaturates colors and makes them look less than perfect when you upload into lightroom to edit.
I hope you found another way to meeter light by reading this! Drop a comment below if you have any questions or have another favorite way of reading light temperature.

